How to Clean an Espresso Machine the Right Way

I once asked my colleague and espresso expert Bryan what the best espresso machine was.
His response?
“The one that’s well cared for.” (For his actual thoughts on the best espresso machine, regardless of cleanliness, check out our blog on the subject.)
Turns out it doesn’t matter if you’ve got an entry-level single boiler, prosumer-grade dual-boiler, or a super-automatic—if you don’t clean your equipment consistently and correctly, no amount of perfect brewing processes or high-quality coffee will save you.
If you don’t keep your equipment clean, the best case scenario is your coffee is going to taste…off; if things really get out of hand, your machine and grinder may stop working altogether.
Don’t worry, though: cleaning espresso equipment is easy. Read on for our guide on keeping all your gear in good working order, from semis and grinders to super-automatics, too.
Semi-Automatic Espresso Machines
Of all the various types of machines and equipment you might have, semi-automatic espresso machines require the most effort to keep clean…this really isn’t saying much though. Most of the cleaning you’ll need to do kind of fits nicely within a workflow of grinding and brewing, so it doesn’t feel like extra stuff you have to do.
I’d say I spend about 10 to 15 minutes per week on dedicated machine cleaning, outside what I do in the normal workflow of pulling shots and frothing milk.
Here are the essentials:
Backflushing
Backflushing is an important part of regular maintenance—perhaps the most important. It ensures the inner workings of your machine remain free of coffee solids and oils, which can cause your brews to taste rancid.
Our service manager and former commercial machine technician Brian says you should backflush with water only after you’re done brewing for the day, and every week with CAFIZA.

To start, swap your portafilter basket for a backflush disc. Most dual-boiler and heat-exchange machines come with one, but if you don’t have one, they’re pretty inexpensive—just make sure you get one that fits your portafilter.
For a water backflush, just lock your portafilter into the group head with the backflush disc installed and run the pump. Leave the pump engaged for 5 to 10 seconds after the machine achieves peak pressure. This will take longer on a machine with a vibratory pump than one with a rotary pump, but all said and done you’re probably looking at anywhere from 10 to 20 seconds of total pump time. Repeat this process 10 times or so, until you don’t see any coffee grounds in the water sitting in your portafilter after running the pump.
When you backflush with CAFIZA, the process is the same—just add about 2 g of CAFIZA to your backflush disc before locking it into your portafilter. If you have a SCOOPS brush, you can use the scoop to measure. If you don’t just use your scale. Repeat the process until no detergent remains in the backflush disc and the water that discharges into your drip tray when you stop the pump is clean and free of suds.

NOTE: some machines have automated programs for backflushing; if yours does, you should follow those instructions instead of these ones.
Cleaning the Filter Basket & Portafilter
After each brew, you should rinse your portafilter thoroughly. Lots of folks will do this by engaging their machine’s pump and running hot water through the group, since this a) won’t cool your portafilter down and b) helps keep grounds off your shower screen. Personally, I rinse mine in the sink because I’m lazy and don’t want to have to empty my drip tray as often.
Anyways, rinsing your portafilter is necessary to prevent the build up of coffee oils and solids that can cause blockages and, therefore, channeling.

If you do find that your filter basket becomes clogged, remove it from your portafilter and boil it for 10 minutes. Then scrub it with a brush or cleaning cloth to remove any remaining buildup.
For serious clogs, you’ll need to use espresso machine cleaner—we generally recommend CAFIZA. Simply mix the cleaning product with warm water and soak your portafilter and baskets for 30 minutes, making sure to rinse thoroughly afterward. If you’re going to do a detergent backflush of your machine, that’s a great opportunity to set up a CAFIZA soak for your filter basket.
Before brewing your next shot, you should always run hot water through the portafilter to make sure no cleaning product remains.
Cleaning the Steam Wand
You should always purge and wipe your steam wand down after each use to prevent the buildup of milk solids. Seriously, do this right away as soon as you’re done steaming—even before you pour your milk.

Use a damp barista towel to remove any milk foam at the tip of the wand and then direct the wand head to the drip tray and run a few spurts of steam through it. If you do this immediately after frothing milk every time, you should prevent most milk solids from building up. Now, if your machine doesn’t have a no-burn wand, you’ll need to be much quicker and more careful with your wipe-down. The hot exterior of the wand will cause milk to cake on fast, and you could burn yourself if you don’t have the proper protection. (Folding a microfiber cloth two or three times should be plenty.)
Unfortunately, there’s no such thing as a perfect system, and eventually you’ll likely notice you’re not getting the steam power you should. This means it’s time for a more thorough cleaning.
Remove the tip of your steam wand (it should easily unscrew from the arm) and check the holes for dried milk, and then use a thumbtack or needle to remove any solids blocking the holes, then rinse.

Before attaching the tip to the arm, you may want to run hot water through the arm to double check there’s no additional build up.
For real serious situations, Urnex Rinza will set you straight. Just pop a tablet in your frothing pitcher, fill it up with about 250 ml of warm water, let it dissolve, and soak your steam wand in the solution for 30 minutes or so. Of course, you’ll need to give your wand a good purge and wipe-down before you froth something you plan to drink.
Group Head Cleaning
As a general practice, you should wipe down your shower screen regularly to ensure it’s clean and free of coffee buildup.

Over time, however, build up will occur and you’ll need to remove the shower screen and shower holding plate to do a more thorough cleaning.
Most screens and plates can be removed easily with a phillips head screwdriver or an allen key (it depends on the model of machine you have).
Once removed, soak the shower screen in CAFIZA water for 30 minutes and then scrub it with a brush to ensure you’ve removed any oils and solids.
While the screen is soaking, use a group head cleaning brush to scrub around the group head. Make sure to get into the crevasse around the shower head plate.
Remember: always run hot water through the shower screen before brewing to ensure no cleaning product remains.
Descaling & Water Quality
First things first: unless you live somewhere with perfect water (you probably don’t) you should avoid putting water straight from the tap into your espresso machine.
Your water contains all sorts of minerals, which, as you brew, solidify and build up in your boiler and can end up clogging the internal systems of your machine, rendering it unusable.

However, properly filtered water—we’re big fans of BWT products—helps prevent scale buildup inside your machine, improving its performance, increasing its longevity, and reducing the need to descale it. The emphasis on “properly” in the previous sentence cannot be overstated: a standard Brita filter will not remove the minerals that cause scaling from your water. If you’ve got a heat-exchanger or dual-boiler, using proper water is especially important because you really shouldn’t descale those types of machines at home. Their internal systems are more complex than a single-boiler, and there are plenty of horror stories that have come about as a result of folks trying to descale their dual-boilers at home: having cleaning solution in your coffee for months on end is closer to “best case scenario” than anything else, and our techs have seen everything from snapped fittings to destroyed boilers, and even acid burns as a result.
If you’re not sure how hard your water is, you should test it. BWT makes a water hardness testing kit designed specifically to inform hot beverage making. Using this will help you determine what type of water filtration is necessary to protect your espresso machine from mineral buildup.
If you have a single-boiler machine, however, you can—and should—descale at home (as needed, of course). It’s a simple process, though it can be somewhat time consuming.
BEFORE YOU START: if your espresso machine has a filter in the water reservoir, remove it before descaling your machine. Decalcifier will destroy the water filter if allowed to run through it.
-
Start by adding the recommended amount of decalcifier to the water reservoir of your espresso machine and filling the reservoir to its maximum capacity. (How much decalcifier you should add depends on the brand and bottle—just read the instructions).
-
Run two cups of water through the steam wand of your espresso machine (NOT through the group head—this can cause clogging of the solenoid valve), then turn the machine off.
-
Let the machine sit for 20 minutes as the descaling solution breaks up and dissolves any scale in the boiler.
-
After 20 minutes, run two more cups of water through the steam wand.
-
Let your machine sit for 3 minutes.
-
Repeat the 2 cup/3 minute routine until the water reservoir is empty.
-
Rinse the water tank thoroughly to ensure all the descaling solution is removed.
-
Fill the tank with cold water and flush the system—run the full tank of water through the steam wand. Repeat 4 times.
-
Run a blank shot of espresso before brewing.
Grinders
The best coffee comes from whole beans ground fresh on a quality grinder. Because of that, a grinder is perhaps the most important investment you can make when it comes to the quality of coffee you’re able to brew.

And yet, regardless of how much you spend on your grinder, how many features it has and how little retention it achieves, coffee grounds and oils will inevitably build up inside the chamber and grounds chute over time. They hang around and get old and stale until something dislodges them, and then they end up in your grounds with your fresh coffee and ruin the extraction and flavor.
So, cleaning your grinder regularly is absolutely essential if you want to enjoy consistently fresh, flavorful coffee, no matter how you’re brewing it.
Luckily, cleaning your grinder is super simple. Read on for the basics and some helpful tips and tricks to help make this process as painless as possible.
Ideal Espresso Grinder Cleaning
The absolute best way to make sure your home grinder stays in peak performance condition is to prevent the build-up of grounds and oils as much as possible.
If you happen to have a vacuum with a hose attachment, doing so is actually incredibly easy: simply remove the bean hopper from your grinder and affix the vacuum hose to the top of the bean chute (you may have to use your hand as a sort of conduit to ensure you have a tight seal).

Plug the grounds dispensing chute with your other hand and turn the vacuum on. If the only thing inside your grinder is freshly ground coffee beans, they won’t be caked on and the shop vac will easily clear the grind chamber of any residue.
If you haven’t cleaned your grinder in a while, you may need to take it apart and clean the burrs by hand.
Thorough Burr Cleaning
In order to access the burrs inside your grinder to clean them, you’re going to need to take your grinder apart.
Don’t worry—this isn’t like taking a watch apart. In most cases, all you’ll need is a phillips head screwdriver and just a little bit of elbow grease.
O
Opening up the Ceado Life X for cleaning.
Here’s how to do it:
-
Before doing anything else, make sure your grinder is unplugged. The last thing you want is to accidentally turn it on while your fingers are inside.
-
Open up your grinder so you can access the burrs. How you do this is going to differ somewhat from grinder to grinder, so a universal playbook isn’t really viable. Check your grinder’s user manual, the manufacturer’s website, or our extensive support library for specific instructions (though, to be honest, a little ingenuity and a set of screwdrivers is probably all you need).
PRO TIP: As you’re working, make sure to pay attention to any screws or springs you remove so you remember how to get them back in the right place. You should also set them in a cup or bag so they don’t end up rolling into any crevasses by accident.
-
Use a stiff brush to remove any coffee grounds that have accumulated on the burrs, plates, neck, and threads.

-
Once all caked-on grounds have been loosened, use the tube attachment on your vacuum cleaner to suck all the loose grounds out of the grind chamber (it doesn’t have to be a shop vac). You can also use a can of compressed air for this if you’d prefer.
-
Give the internal surfaces a final wipe down with a microfiber cloth to remove any remaining debris.
-
Reassemble your grinder!

Opening up a Eureka Mignon grinder for cleaning.
Using Coffee Grinder Cleaning Tablets
One way you can help to ensure your grinder stays nice and clean without having to take it apart every month or so is to use grinder cleaning tablets.
Such tablets are food safe and compatible with any type of grinder.

All you need to do is fill your grinder hopper with the recommended dosage of cleaning tablets—after removing any remaining coffee beans, of course—and grind them through. The process of grinding these tablets will clean your burrs and remove caked-on coffee grounds. They also clean oil off the burrs much better than a brush can, so even if you do open up and brush down your grinder regularly, you should still use Grindz every now and then.
Once you’ve ground the tablets, you’ll want to grind another 20 grams or so of coffee to make sure no cleaning agent remains—the tablets are food safe, but it’s not exactly the kind of thing you want in your coffee.
Super-Automatic Espresso Machines
Fully automatic espresso machines are all about convenience—you push a button and are delivered a delicious espresso beverage in mere moments. This convenience is present when it comes time to clean your machine as well.
Most super-automatics not only give you handy reminders for when it’s time to clean and descale—they’ll mostly automate the process as well.
Because of how communicative super-autos have gotten, the best advice we can give you is to simply listen to your machine and clean it when and how it instructs you to.
However, if you want to make sure you’re keeping up with the needs of your coffee machine in between deep cleaning, we’ve got a few tips for you.
Test Your Water
If you ask Whole Latte Love techs what the #1 espresso machine maintenance issue they deal with is, they would not hesitate to respond: scale buildup.
Scaling occurs when minerals in brew water precipitate and build up in various parts of an espresso machine, primarily the boiler. Scale buildup can cause blockages and prevent your machine from brewing espresso correctly.
How hard your water is determines how much scale will build up, so it’s important information to ensure you’re taking proper care of your machine. If you don’t know how hard your water is, you should test it (don’t worry—it’s easy and relatively inexpensive).

Use Water Filters
Before we get to descaling: what if there were a way to significantly reduce (if not entirely eliminate) the frequency with which you needed to descale your machine?
There is: use a specialized water filter.
Most modern super-automatic espresso machines come with a water filter that lives right in the reservoir. If yours doesn’t, you can simply fill your reservoir with water filtered through a BWT pitcher (there are other filtration options as well, if filling a pitcher isn’t your ideal scenario).
Certain filters, like those JURA makes for their super-autos, are designed to entirely eliminate the need to descale your machine (assuming you replace your filter regularly). Others significantly reduce how often you’ll need to descale.
Descaling
How often you need to descale your machine depends entirely on the hardness level of your water and the type of filter you use. With medium-hard water and no filter, you should plan on descaling every 3 months or so.

During descaling, a cleaning solution like Durgol Descaler dissolves scale build up within your machine and keeps your valves free from obstruction.
To descale your machine, simply add a descaling solution to the water reservoir and run the descaling procedure. How to initiate this depends on which machine you have, but it should be somewhere in the main menu. Many machines, in fact, will actually give you automatic reminders to descale based on the hardness of your water.
Just make sure you remove any in-tank filters before adding the descaler to your reservoir (it will destroy your filter).
Milk System Cleaning
Cleaning espresso machines’ milk systems is just as important as anything else (nobody wants old milk in their latte). How you do this, however, depends on what type of machine you have.
Gaggia machines, for example, use an auto-frothing carafe for producing milk foam, which the machine cleans automatically after each use…but you should still wash the carafe every week or so just to give it a thorough cleaning.
JURA machines, on the other hand, require you to run a cleaning program after preparing milk drinks. It’s easy to do though: you simply add some JURA milk system cleaner to the included cleaning tub, connect the line, and the machine will do the rest for you.
Brew Group Cleaning
Similar to the milk systems, how you clean the group head of your super-auto will depend on what type of machine you have.
Gaggia machines, for example, have removable brew groups which you should take out and rinse in hot water every week or so to remove the coffee grounds that can get caked on after pulling shot after shot of espresso.
JURA machines, by comparison, have no removable brew groups. Instead, you clean them by adding espresso machine cleaning tablets to the single dose chute and running a cleaning cycle on the machine.
You can use espresso machine cleaner tablets in Gaggia machines as well, however we recommend removing the brew group to clean it thoroughly at least once a month. In the words of one of our techs, using these cleaning tablets on a machine with a removable brew group is like “taking a shower with a wet wipe.”
Keeping Your Machine Clean
The secret to enjoying flavorful, aromatic coffee at home is to make sure you take care of your equipment—that means keeping it clean. Buildup of coffee oils and grounds aren’t doing your palette any favors.
Luckily, keeping your equipment clean is easy and not even all that time consuming. If you follow the suggestions in this blog, you can be sure you’ll get to enjoy the freshest, most flavorful coffee possible.
Photography by Grace Walker
Shop This Blog
-
 Urnex Cafiza is a formulated powder to remove residue, rancid coffee oils and lime scale deposits from your espresso machine. This product is used to backflush semi-commercial and commercial espresso machines as well as cleaning any metal parts such as screens and filter baskets. This product is not a decalcifier and should not be dissolved in a reservoir or put through a boiler. The 20 oz bottle should last you more than a year.
 -
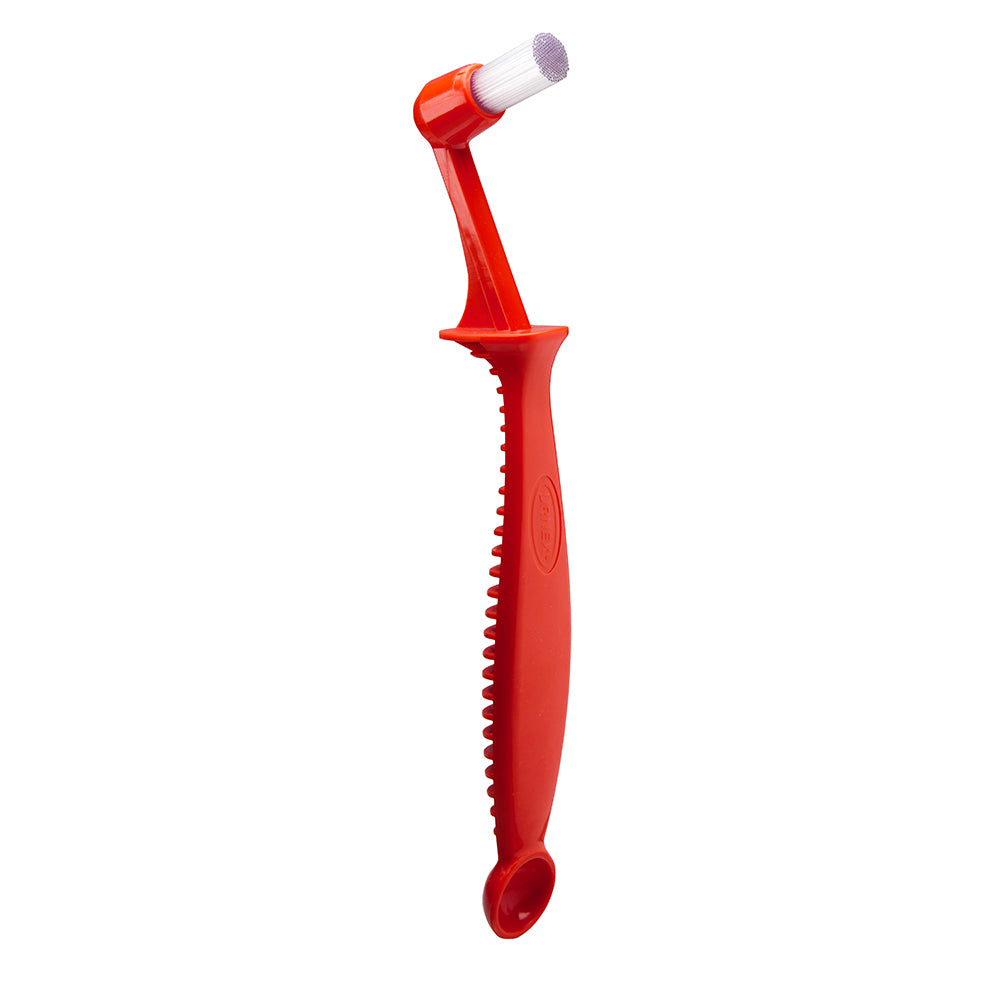
Specifically designed to clean espresso machine group heads, the Urnex Scoopz Espresso Brush features an ergonomic shape for easy use and effective cleaning, a splash guard to protect hand from hot water, and a measuring scoop at the end of the brush for cleaning powder.
-
 BWT Magnesium Mineralizer Filter Cartridges Overview BWT's patented magnesium mineralizing technology offers unbeatable improvements to taste in your water, perfect fo...
 -
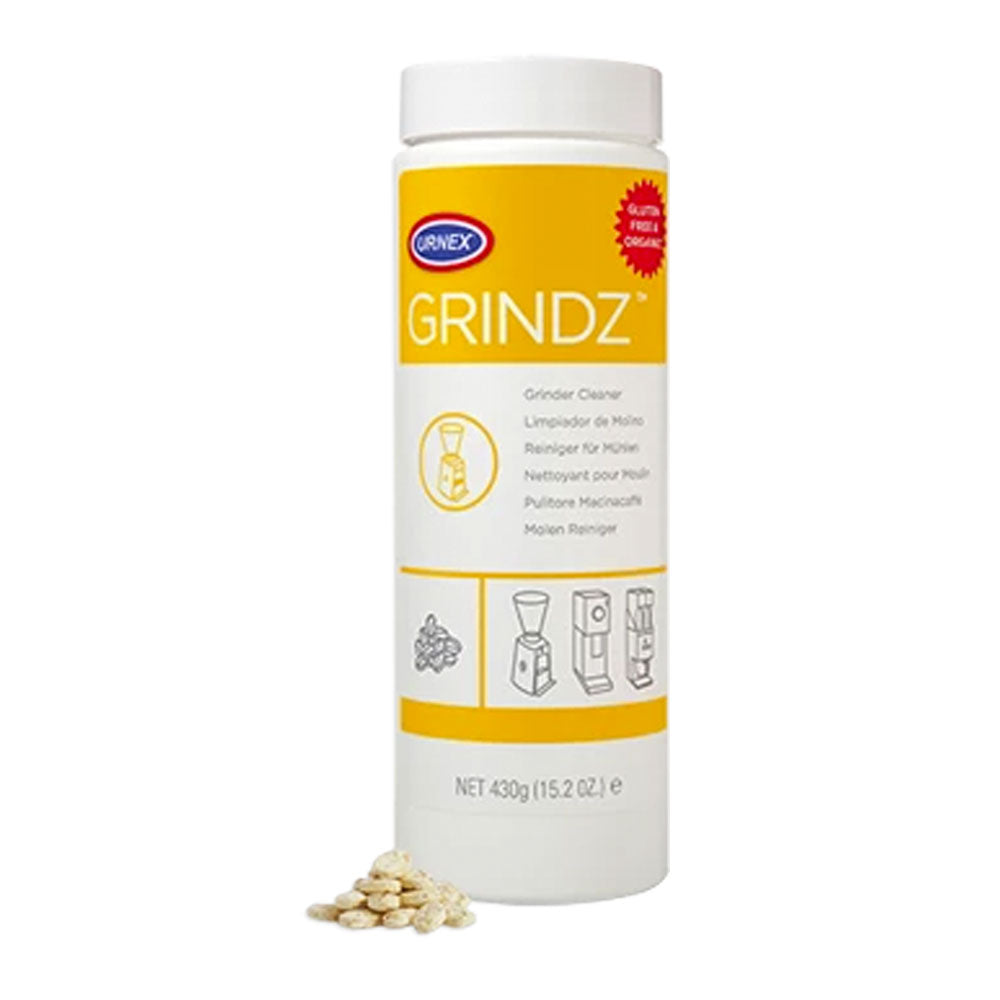 Urnex Grindz are an easy, food safe way to remove stale grounds and coffee oils from your grinder's burrs.
 -
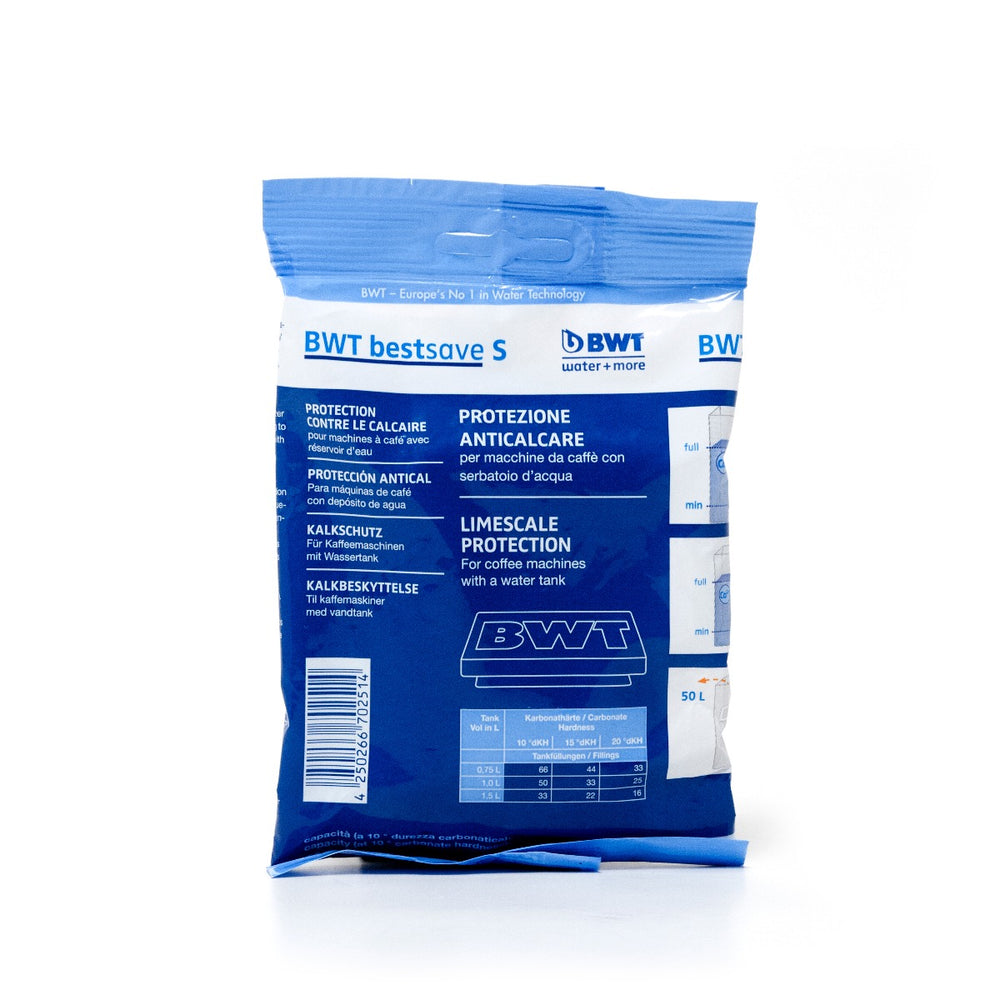 Complete your Set-Up with the BWT Bestsave S Anti Scale Filter BWT's Bestsave water filter is an in tank filter that protects your machine against scale buildup and he...
 -
 Developed by the cleaning experts at Urnex, Café Wipz are pre-moistened, fragrance free wipes that were designed for a variety of uses – including cleaning the milk residue on the steam wand, grinder hoppers, dump boxes, drip trays and counter tops. Since Urnex is a name you can trust, know they were developed with the health and safety of coffee lovers in mind. Café Wipz come in a resealable package of 100.
 -
 The BWT AQUAlizer is an attractive modern water pitcher with an intuitive baselight to alert you when it's time to change your water filter. When used with BWT Magnesium Mineralization Cartridges, the AQUAlizer produces delicious drinking water that will not cause limescale buildup in your espresso machine.
 -
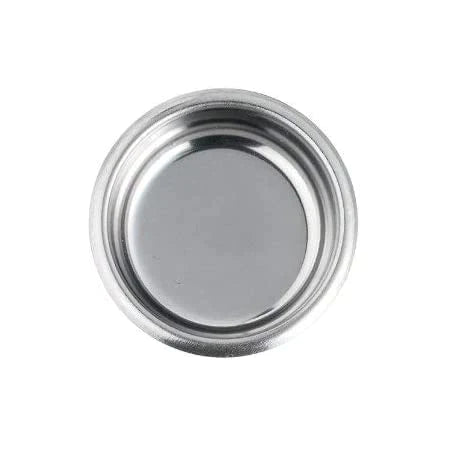 Make backflushing your machine a breeze with the Caffewerks Blind/Back Flushing Disk for 58mm portafilter baskets.
 -
 Urnex Rinza M61 Acid Formula Milk Cleaning Tablets, available in a 120 tablet jar, are milk system cleaning tablets that dissolve easily in water to remove milk residue and buildup in steam wands, valves and tubes. Each 4g tablet has also been formulated with cationic surfactants for additional cleaning effectiveness.


Related Articles

Best Espresso Machine: the Final, Definitive Answer

Freezing Coffee Beans: Freshness & Peak Brewing Conditions